The beauty of brothy beans is that they have as magical ability to feel nourishing and indulgent at the same time. Plus, they’re unfussy and completely adaptable to what’s in your kitchen. Lesley Sykes, founder of the new online dried bean brand, Primary Beans, grew up on beans and has seen them go from humble to cult-favorite over the last decade. But she felt like there was still work to be done to make regular bean eating accessible to all. Below she shares her take on making the perfect brothy beans at home, and how to keep things interesting no matter the season.
I’ve always loved beans and growing up on a Mexican border town I got my fix from bean burritos, bean tostadas, and the like. But it wasn’t until I discovered making brothy beans at home in the Instant Pot a few years ago that I realized making beans isn’t as fussy as some make it out to be. I perfected my brothy beans and it quickly became the easiest and most delicious thing I make. Below, I walk you through some handy tips I’ve learned over the years that’s meant to complement the step-by-step bean cooking guide on our site.
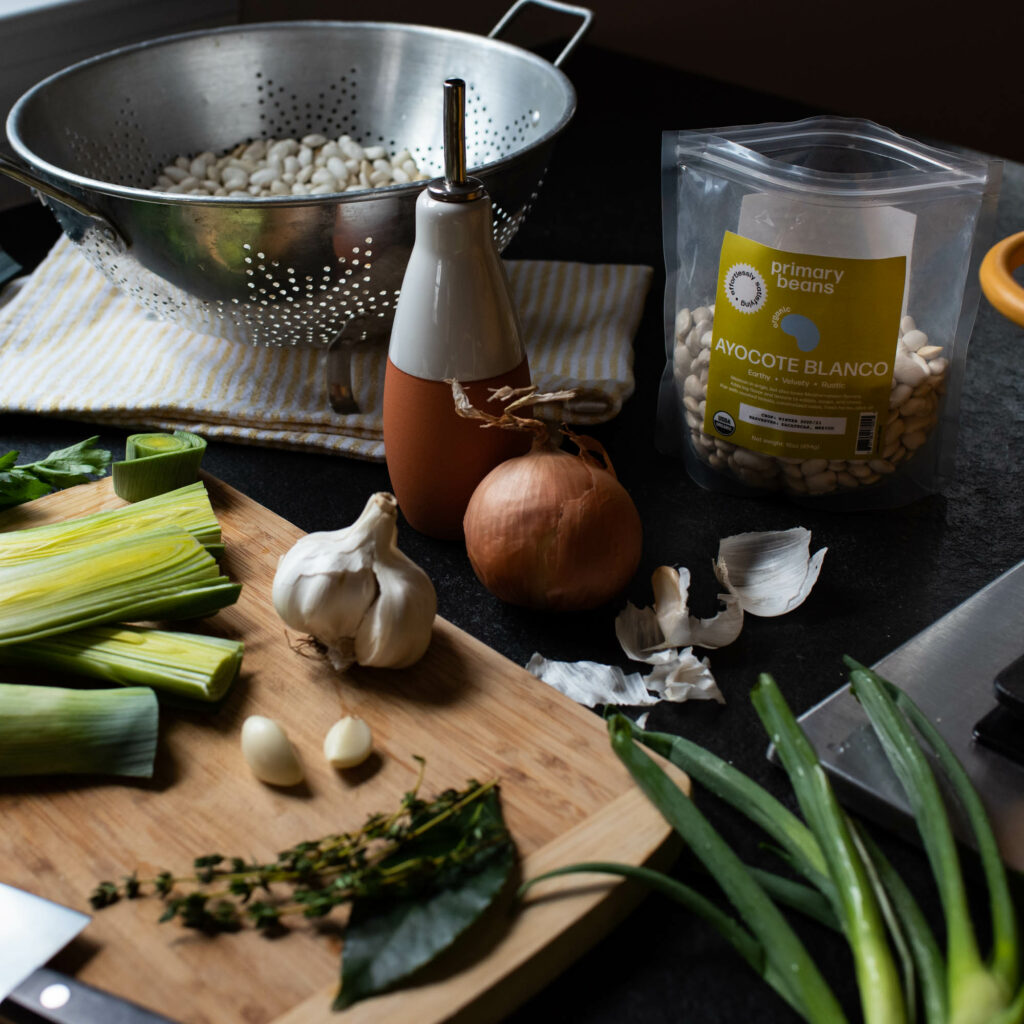
Start with a fresh beans
Dried beans are living, breathing seeds that started out as fresh produce before being dried in their pods to become the staple we all have in our pantries. So, when it comes to dried beans, the fresher the better. It’s important to use beans that have been harvested within the past two years because, as beans age, they lose moisture and flavor and may take longer to cook. And really old beans may not completely soften at all!
The problem home cooks face in the US is that the beans on most grocery store shelves are a commodity, meaning they’re grown at scale, consolidated, cleaned, stored, and sold cheaply. All the information on origin and growing methods gets lost as they pass through several hands in the supply chain. Beans don’t fly off the shelf as quickly as they do in Mexico, for example, so beans on grocery store shelves are known to be up to five years old.
That’s why it’s important to know the source of your beans and the timing of harvest—and the reason we share harvest information on all of our offerings at Primary Beans.
Use a pressure cooker and skip the presoak
I truly do appreciate low and slow stovetop cooking on days you want to slow down in the kitchen and in life, but, lately I’ve felt like those opportunities are few and far between. Not only does the stovetop method take more time, but it requires monitoring of the liquid level so that the beans stay submerged. As minimalist as I am with cooking gadgets, my Instant Pot has been a lifesaver on too many weeknights to count. Add your beans to the pot with some seasonings and aromatics (more on that below), and voila—eventually, dinner is ready.
Also, here’s something you might not have heard about (or if you did, you didn’t believe it): You don’t actually need to soak dried beans if your beans are fresh—ideally, less two years from harvest. Soaking dried beans has become a popular method for reviving old beans—a practice passed down through the generations, probably from relatives that were using commodity beans to begin with!
Flavor your beans with salt, fat, and aromatics
Adding flavor through combinations of salt, fat, vegetables, herbs, and spices is absolutely worth the effort; this transforms a neutral canvas into a rich pot of brothy beans that can stand on their own. As beans cook, they absorb water and all that flavor that you add in the process. I encourage you to be creative by using what sounds good to you or anything you’d like to use up. You can also choose ingredients based on a cuisine you’d like to evoke (i.e., kombu and miso for a Japanese style broth). Here’s some guidance I’ve developed over the years (you can also visit the Primary Beans cooking guide for more inspiration):
- I love the sweetness from onion; I use ½ onion (cut lengthwise so it stays intact) and it usually gets so melty after the long cooking times that I can break it up into bite size pieces while stirring at the end.
- Pressure cookers really amplify certain flavors, so go easy on the ground spices. I once added cinnamon to some beans for a “Greek note” and it was a disaster—the cinnamon was so overpowering!
- When adding meat, I like using fatty meats like bacon or sausage. Render the fat in the pot beforehand and set aside the crisped meat for crumbling over the top of the beans when you serve. (I find bacon especially gets floppy when cooked with the beans.)
- Charred lemon halves have been popularized on Instagram but be cautious in adding acid because it inhibits water from moving into the bean cell walls. Instead, add lemon juice and zest after cooking, when serving.
- Salt early and liberally. I’ve found that 1-½ teaspoons of medium coarse salt like Diamond Crystal is the perfect amount for seasoning the beans. It may seem like a lot, but remember that as beans cook, they swell to up to three times their original size. Add it at the beginning of cooking so the beans have time to absorb the salty goodness. (Somehow, we’ve passed along this generational theory that salt hardens beans and you should only add it at the end. This is simply not true—the salt ions help the water permeate into the bean.)
- The fat you add brings its own flavors, and by adding it at the beginning of the cooking process, you’re giving it an opportunity to flavor the beans and the broth that they produce. I generally opt for a healthy glug of olive oil, but I also use rendered pork fat or lard if I have it on hand.
Get those liquid levels right
As you get to know different varieties, you’ll note that they produce a variety of broths with varying colors and body. Cannellini beans, for example, leach a lot of carbohydrates into the liquid, which creates a thick, starchy bean broth. Dark seed coats (e.g., Negro or Ayocote Morado beans) create a dark, inky broth. The broth from Bayo beans has a golden hue and deep flavor that can’t be beat.
All that is to say no matter the bean variety, rich concentrated bean broth is heavenly. Aim for water to cover beans by about 1-½ inches. In a 6-quart pot, that’s 5-6 cups of water for 1 lb. of beans. For stovetop cooking, add more water as necessary to keep beans submerged. If you’re using an electric pressure cooker, you’ll almost always want to finish the beans by simmering them uncovered to concentrate the broth, since not as much liquid evaporates during the cooking process.
Don’t skimp on the garnish
Garnishes balance flavors and textures and make a humble bowl of brothy beans feel fancy. At a minimum, I recommend topping your beans with some kind of acid and salt. In my household, we almost always finish brothy beans with a splash of vinegar (sherry or red wine), or a squeeze of lemon. For salty notes, Parmigiano Reggiano is a go-to, and I occasionally use feta which melts nicely into the warm broth. If I don’t add salty cheese, I use a sprinkle of crunchy salt flakes.
Garnishing also provides an opportunity to add some seasonal flare. Fold in some roasted winter squash or top with fresh spring herbs, which will brighten the dish (and make it photo worthy!). By the way, you can use leftover beans in so many recipes (we have a host of recipes on our site) or simply dive in with a spoon or a slice of crusty bread. The beans will store well in a covered container for up to 5 days.
There you have it—the perfect bowl of brothy beans, adaptable for any mood or any season. Real, delicious, simple food that’s nourishing for you and for all the human beans around you.